Day 30 / 38 – Moho
Domestika meet Moho, Moho meet Domestika.
Confession: I own an embarrassing number of Domestika courses.
At some point, it stopped being, “I should probably stop buying these,” and became, “Apparently, this is just part of who I am.” Teacher, learner, instructional designer, I seriously can justify almost any course purchase.
Last year, I took Children’s Illustration with Procreate: Paint Magical Scenes
A course by Lucy Fleming. The course focuses on creating whimsical children’s illustrations in Procreate, covering texture, composition, storytelling, and color. While every Domestika course I have taken has been stellar, there are plenty of complaints about Domestika’s subscription renewals and billing practices (so, purchase at your own risk).
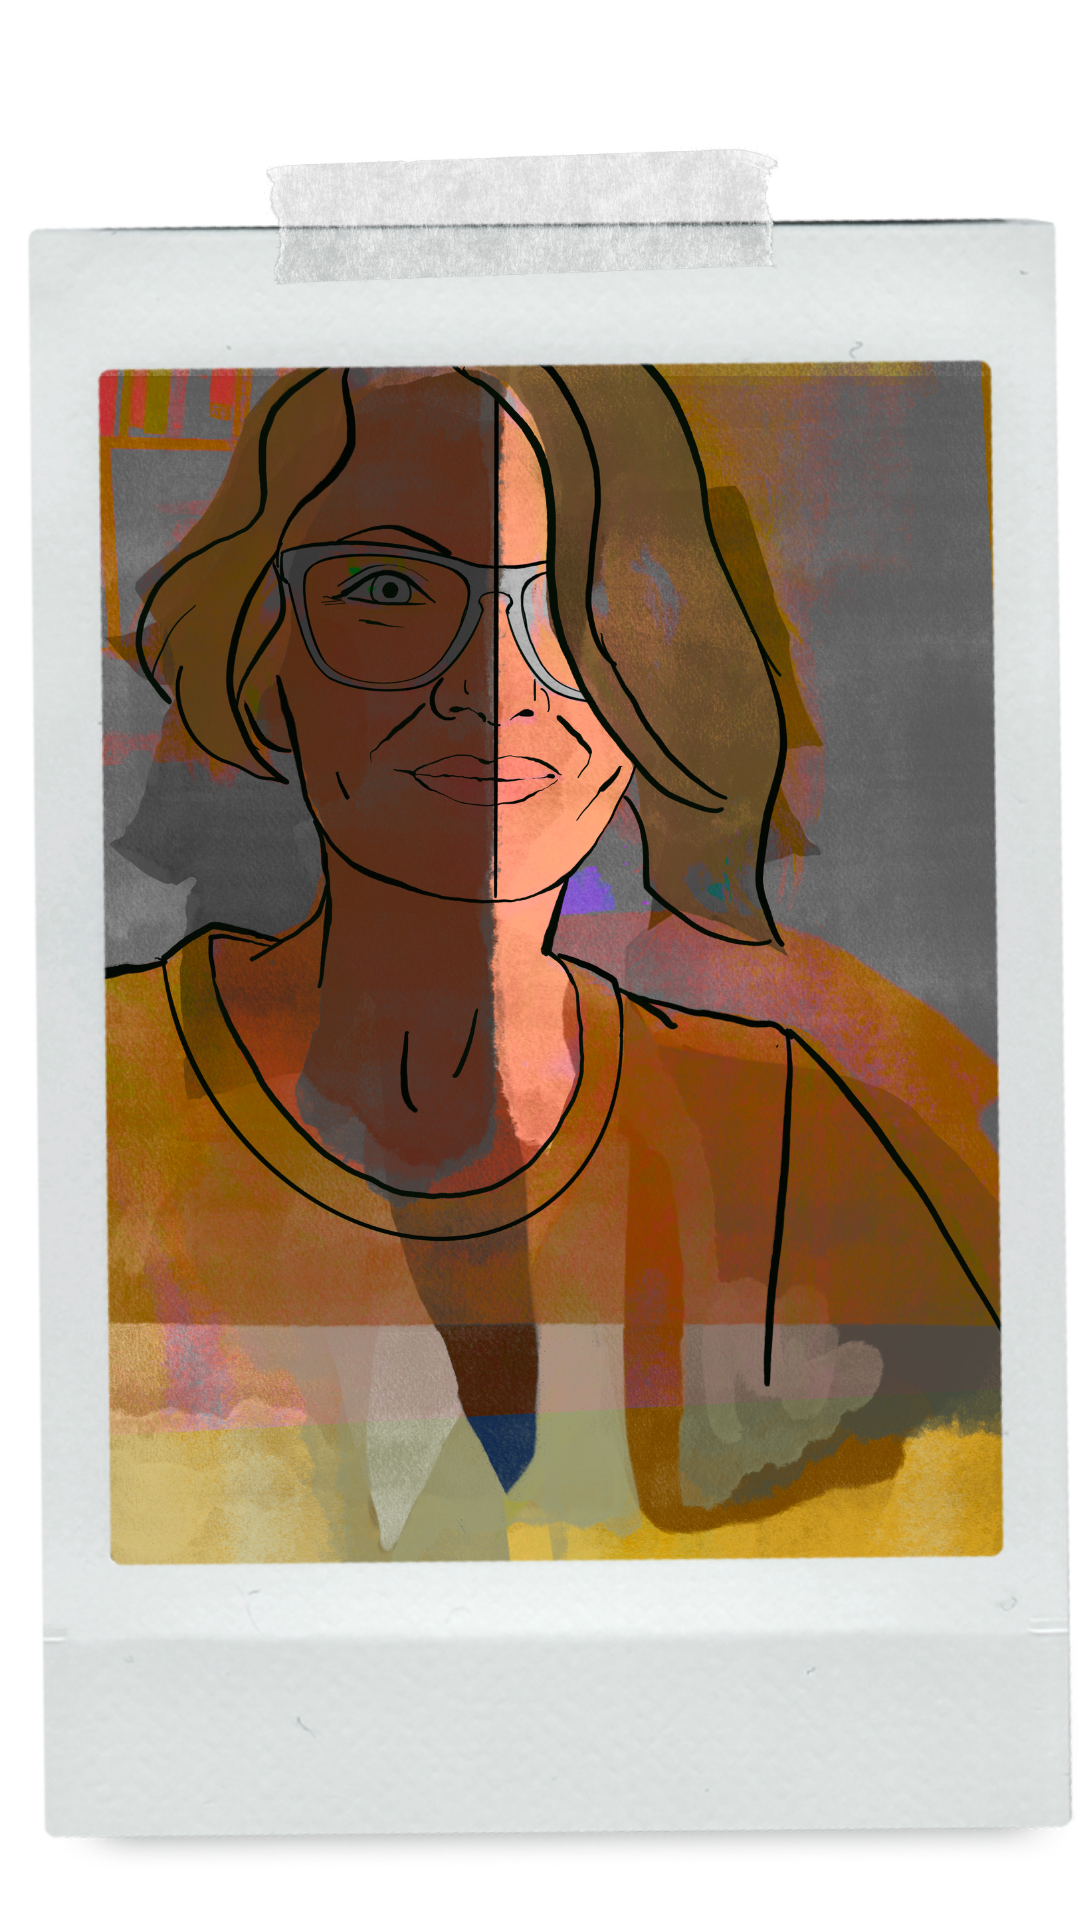
After taking Lucy’s course, I painted this little character in Procreate with the intention of animating the rain frame by frame. Then I got sick (perhaps a story for another day) and the project ended up on the back burner. I revisited the piece for Moho’s lesson 30, organized the artwork into a layered PSD file, and imported it into Moho, so that I could animate the rain with Moho particles.
Things to Know:
✔ Apply Premade Particles
✔ Create Custom Particles
Built in particle effects

This process was way too easy.
Go to : Scripts
Select: Particle Effects
Select: whatever effect you are looking for, in this case. I chose rain.
The only adjustment I made was to make the drops smaller.
Custom particles
You can also create your own particles with vector shapes, or hand drawn vector shapes in moho.
- start with a vector layer in the layers panel
- frame_0
- grab a shape with the shape tool OR
draw the shape you would like to make into a particle - in the layers panel, click “new layer,” particle
- now pull the shape layer(s) you drew earlier into the particle folder


This effect was created using three layers: blurry stars, hand-drawn colored stars, and a dust layer. In the final image, all three layers swirl together to form a magical, sparkling motion. Maybe more chaotic than magical, but you get the idea.

You can also double click on your particle folder, and adjust how you want your particles to perform.
The options are endless.
“It is fairy dust and wanderlust that guide our hands to create what our hearts desire.”
— Gayle Wray

Day 30 — Afterthoughts
Day 30. I can’t believe it.
There was a surprising amount of learning packed into this small section. I also tried to incorporate more of the techniques from previous lessons, including mesh layers and other tools I’ve been experimenting with.
For the walk cycle, I followed this tutorial, which was fantastic: https://www.youtube.com/watch?v=9_cx6jYaq8o thanks McCoy Buck!!
However, I quickly discovered that creating a walk cycle is one thing, getting a character to smoothly stop walking is another. My attempts were jerky, the umbrella has a snap that I finally gave up on. I’m telling myself at some point I will get there.
Magic dust is my favorite though ✨nik