Day 18 / 38 – Moho
Baby video today, clocking in at just 5:19. The main focus was the Add Points Tool, with a bit of overlap into the Create Shape Tool and Curvature Tool.
Things to Know:
✔ Moho Fill Tool Options

- Create Shape Tool
- Paint Bucket Tool
- Delete Shape Tool
- Line Width Tool
- Hide Edge Tool
Create Shape Tool (U)


Create Shape Tool — Use the Lasso to select the points you created with the Add Points tool. When you release, a red checkerboard will appear, indicating the selection is active. You can then choose to apply a Fill, Stroke, or Both. Click “Create Shape” to finalize.
Note: Be careful when working with nested shapes. Even if your points are connected, Moho may not recognize shapes that exist within other shapes using this tool. I found it helpful to start with a simple object (like a basic mushroom) to get it working properly.
Paint Bucket Tool (P)


Paint Bucket Tool — This tool lets you click to fill an enclosed area. As with other tools, you can choose Fill, Stroke, or Both from the top options. You also have the option to reduce points (or attempt to), since Moho may add extra points during the fill process to make the shape work.
A checkerboard pattern will appear before applying the fill, indicating that the area is fully closed. This tool worked well for my hand-drawn mushroom, even with multiple separate parts.
Delete Shape Tool


Delete Shape Tool – You can click over an area of fill, and delete it. Notice the ugly pink color, now gone. 😉
Line Width Tool (W)


Line Width Tool — This one is a lot of fun. After selecting the tool, you can click on any point to thicken or thin the line. It’s a great way to refine and add character, even to hand-drawn lines. Notice how the base of the mushroom changes with these adjustments.
Hide Edge Tool (H)


Hide Edge Tool — I used this tool subtly, but it’s a powerful way to refine the look of your artwork. You can select an edge to hide it; the edge still exists, but it won’t be visible. This lets you retain the fill while softening or breaking up the outline. For example, I used it to give the mushroom a more hand-drawn feel by making it look like the pen skipped an area.
Stroke Exposure


Stroke Exposure Tool — Similar to the Hide Edge Tool, but with more control. This tool lets you adjust how much of a stroke is visible, allowing you to partially reveal or hide sections of an edge for a more nuanced, hand-drawn effect.
Color Points Tool (K)


Color Points Tool (K) — I ended up drawing a separate mushroom for this test because my original hand-drawn version kept losing its line whenever I tried to highlight a point. This new mushroom was created using the Add Points tool.
In my experience, this tool felt limited in terms of control when trying to highlight specific areas of the shape. Is this for underpainting or more subtle color work? I didn’t find it as intuitive as freehand tool when painting.


CTL + Z = undo.

Day 18 — Afterthoughts
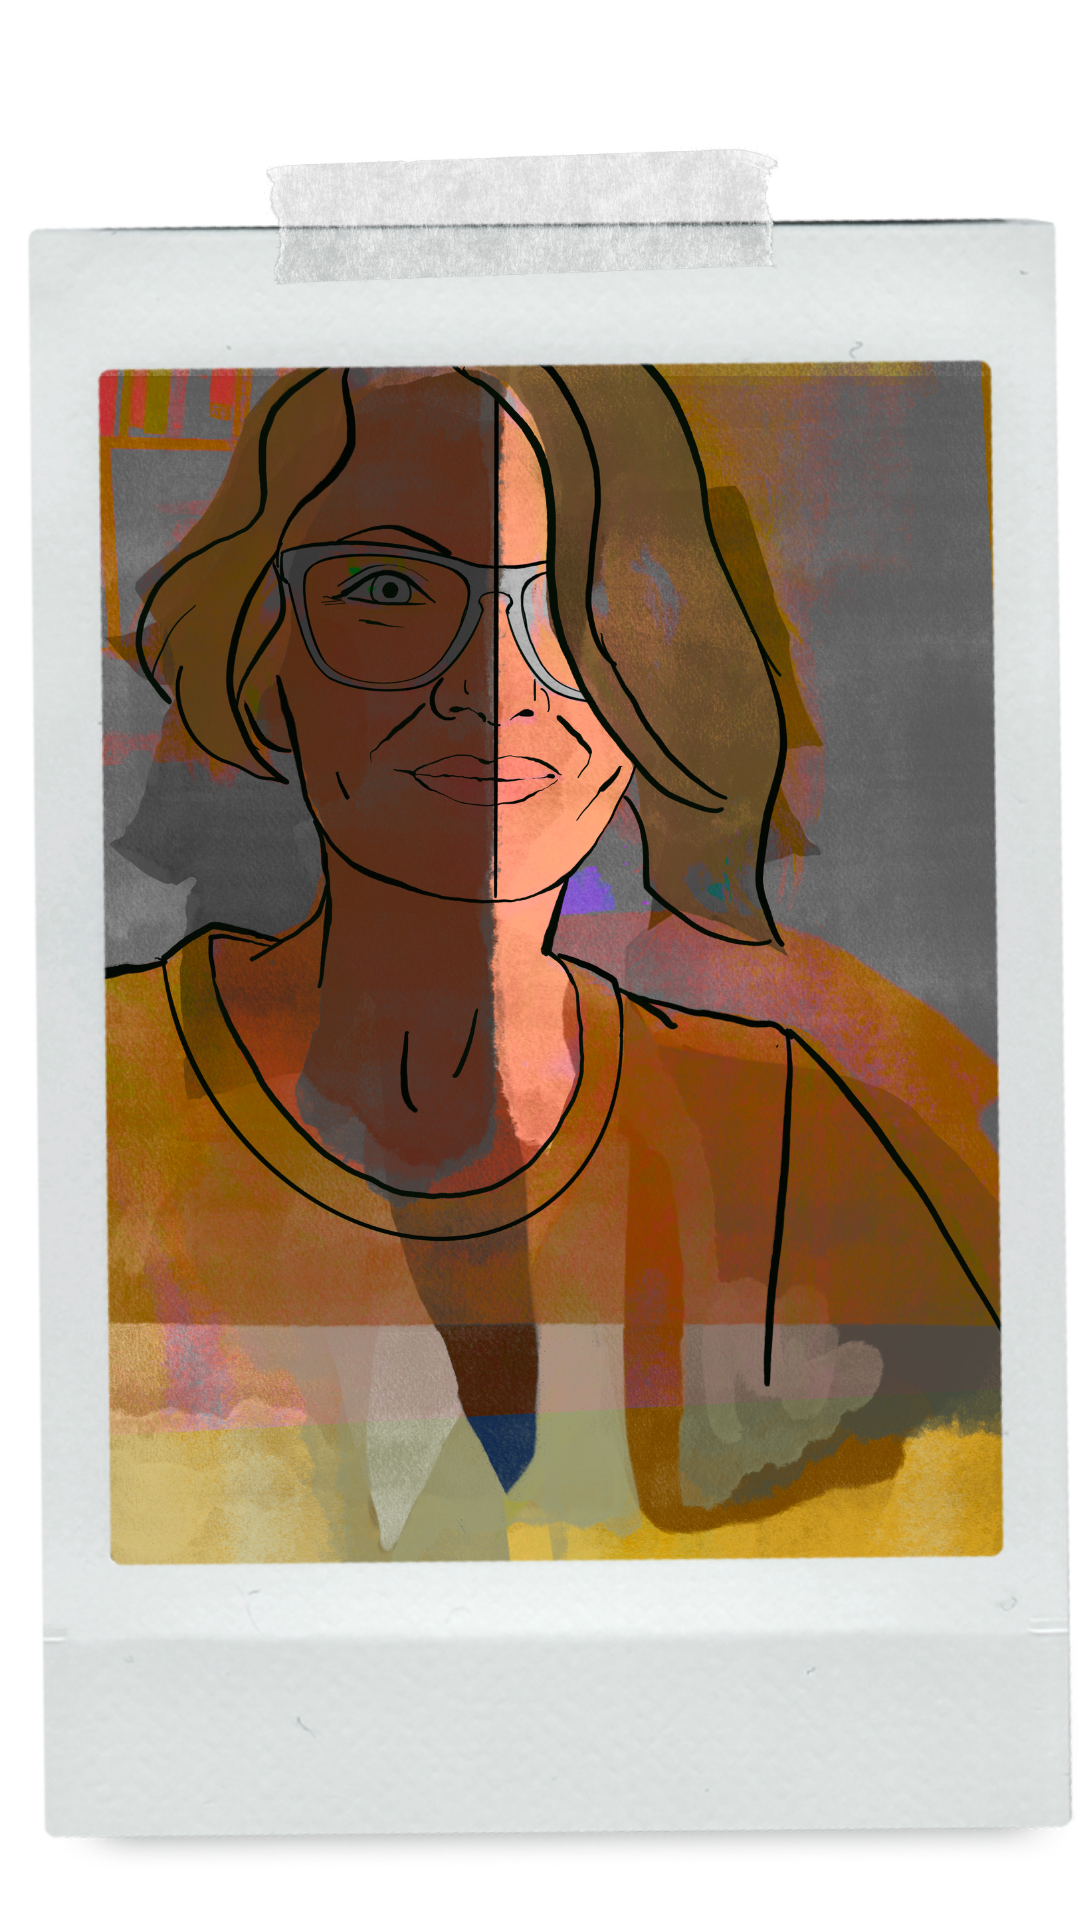
I think I’m getting redundant, but I really love Moho. I’m not an illustrator, I’m not an animator, but I have the heart of both. It makes me wonder what you could do with real technical skill ??? The possibilities feel pretty endless. And way beyond a be-bopping mushroom.
shroooom 🍄 Nik