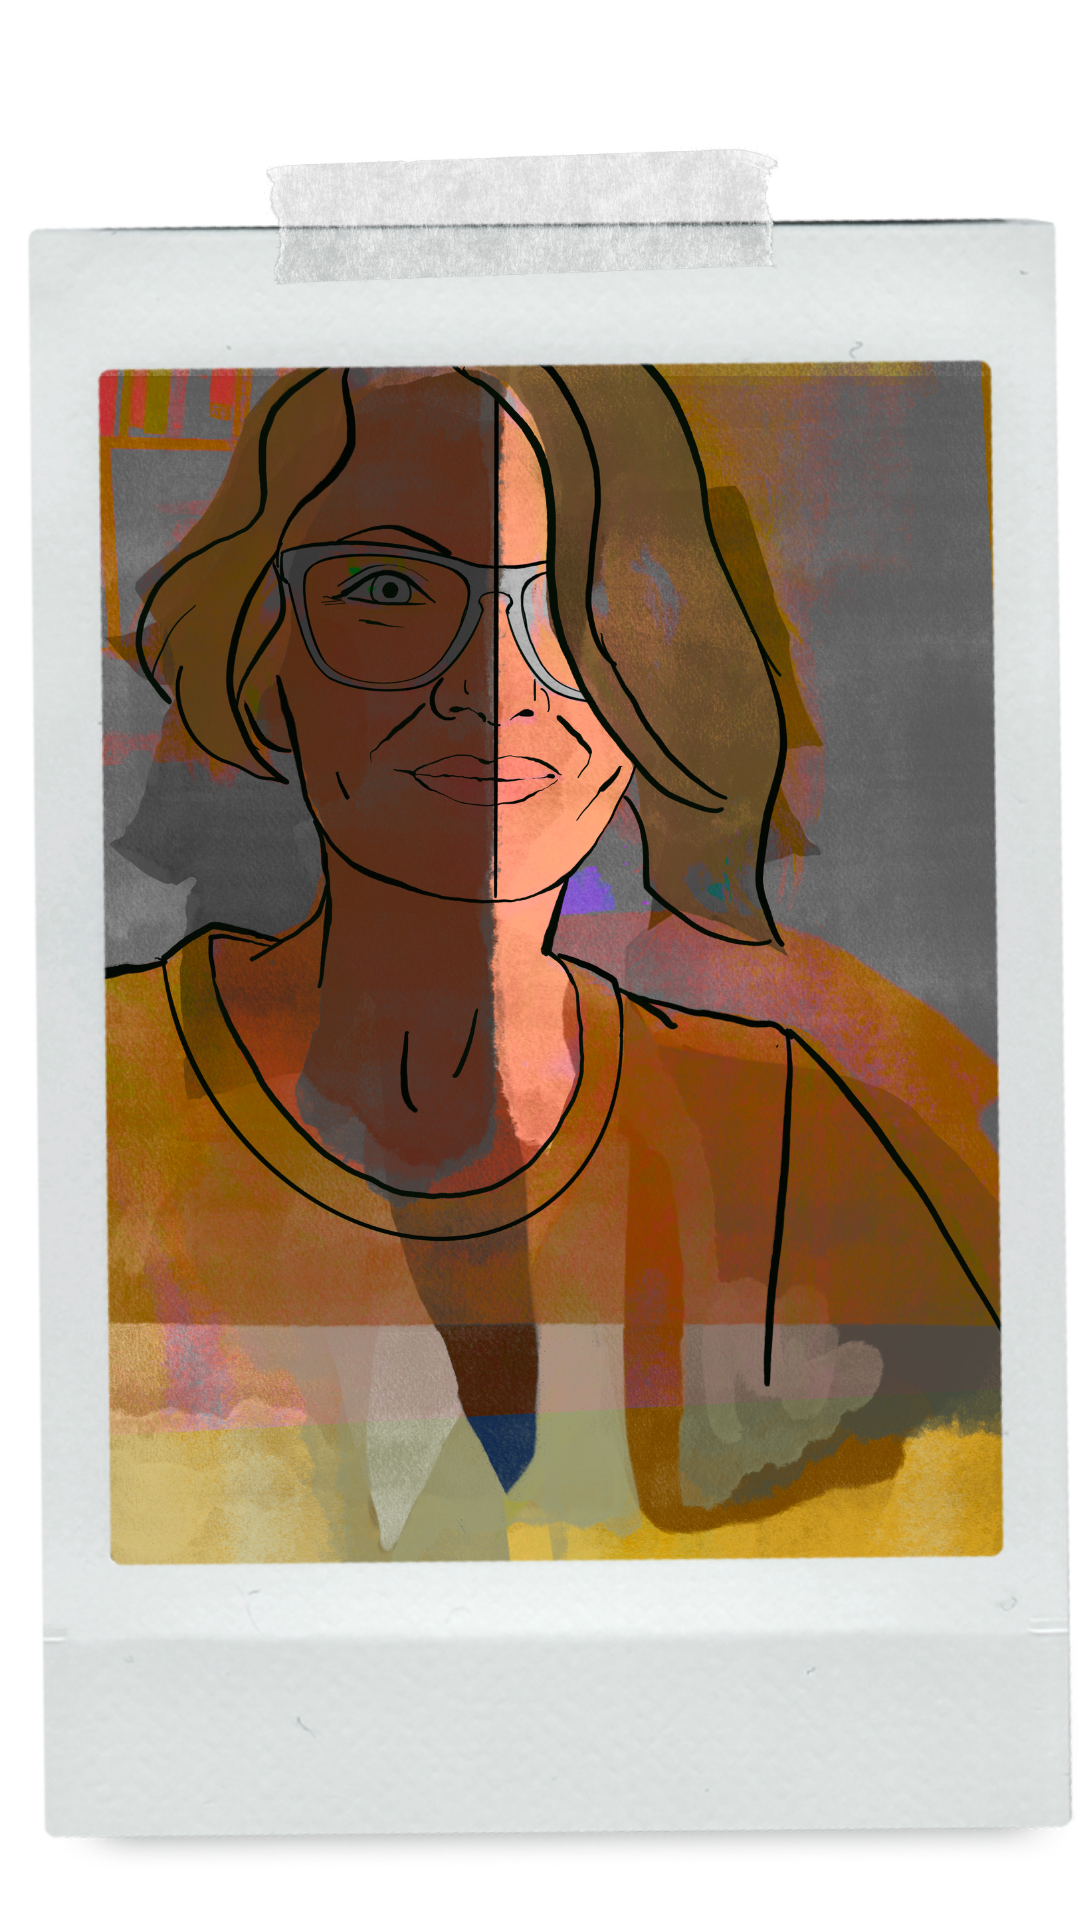
Day 6 / 38 – Moho
Still in day six of learning Moho… and my brain was officially frying. Around 10:35 in the lesson he casually says, “It’s not working the way we intended, so we’ll need to use Layer Binding.” Because right now the rig is adhering to bone strength. Oh yes. Clear as mud. Then he introduces something called “influence clouds.” Apparently the bones are influencing things they shouldn’t. I’m apparently infected with influence. So now the plan is to separate things out. Clearly. 😅
Things to Know
✔ Bind bones
So to stop things from morphing and influencing the wrong body parts all over the place, you have to bind bones to layers. At least, that’s my current understanding. Basically, you pick a layer and bind it to the bone you actually want it to move with. The arm sticks to the arm bone. The leg sticks to the leg bone. The coat sticks to the chest bone, a hat to the head bone, and on. In theory, everything behaves. In practice… we’re still negotiating.
⚠️ Important: you have the option to “bind” groups or “bind” individual layers. However, if you bind an entire group, you can’t move it’s individual parts or bind them to any other bones. In other words, if you bind the parent, the children are stuck with it. No independent movement.
To bind or not bind, that is the question.
So let’s get some pupils moving in Moho 👀

- Click on the Character layer (bottom right in the Layers panel).
- Click once on the head bone.
- Select the Add Bone Tool.
- Click once in the empty area to the left to add a new bone. Since you added it while the head bone was selected, it will move with the head.
- Go up to the top and rename this new bone “pupils.”
Now it’s time to bind the pupils to the new bone:
- Click pupil_R and bind it to the pupils bone.
- Click pupil_L and bind it to the pupils bone.
Now both pupils will follow that single bone, which makes it much easier to move the eyes around together.
Quick tip: If you try to test your rig on frame 0, nothing will happen. Move to the next frame, then use the Transform Tool. When you move the pupils you’ll see a keyframe appear on the timeline, which means the animation is actually recording.
This was actually a video text I sent to my sisters. The excitement was real. Man, I love this.
Link Bone
So from what I understand so far, using the Link Bone tool in Moho is basically: “These two bones are connected—move the parent, the child follows.” Little Ducky didn’t have ears like the example, so I used this method for his hair instead. Looks like I might be able to refine it later with physics to make it move even more naturally.
Ran into another snafu when binding my arms, apparently the arms need to be straight to “create smooth joint for bone pair.” Interesting discovery… does this mean I need to rethink how I illustrate in the future? Left me wondering: do I have to do this every time? Are there other rig types that work differently?
For now, I straightened the bones with the Bone Transform tools (flipbook reference from the last post) and then linked them. The wings aren’t bending exactly how I imagined them.
But, here’s what I have so far.
And yes… this song has been on loop in my head for two days straight: dem bones, dem bones. 😅 Feeling stretched and ready for Part 7. See you then! nik