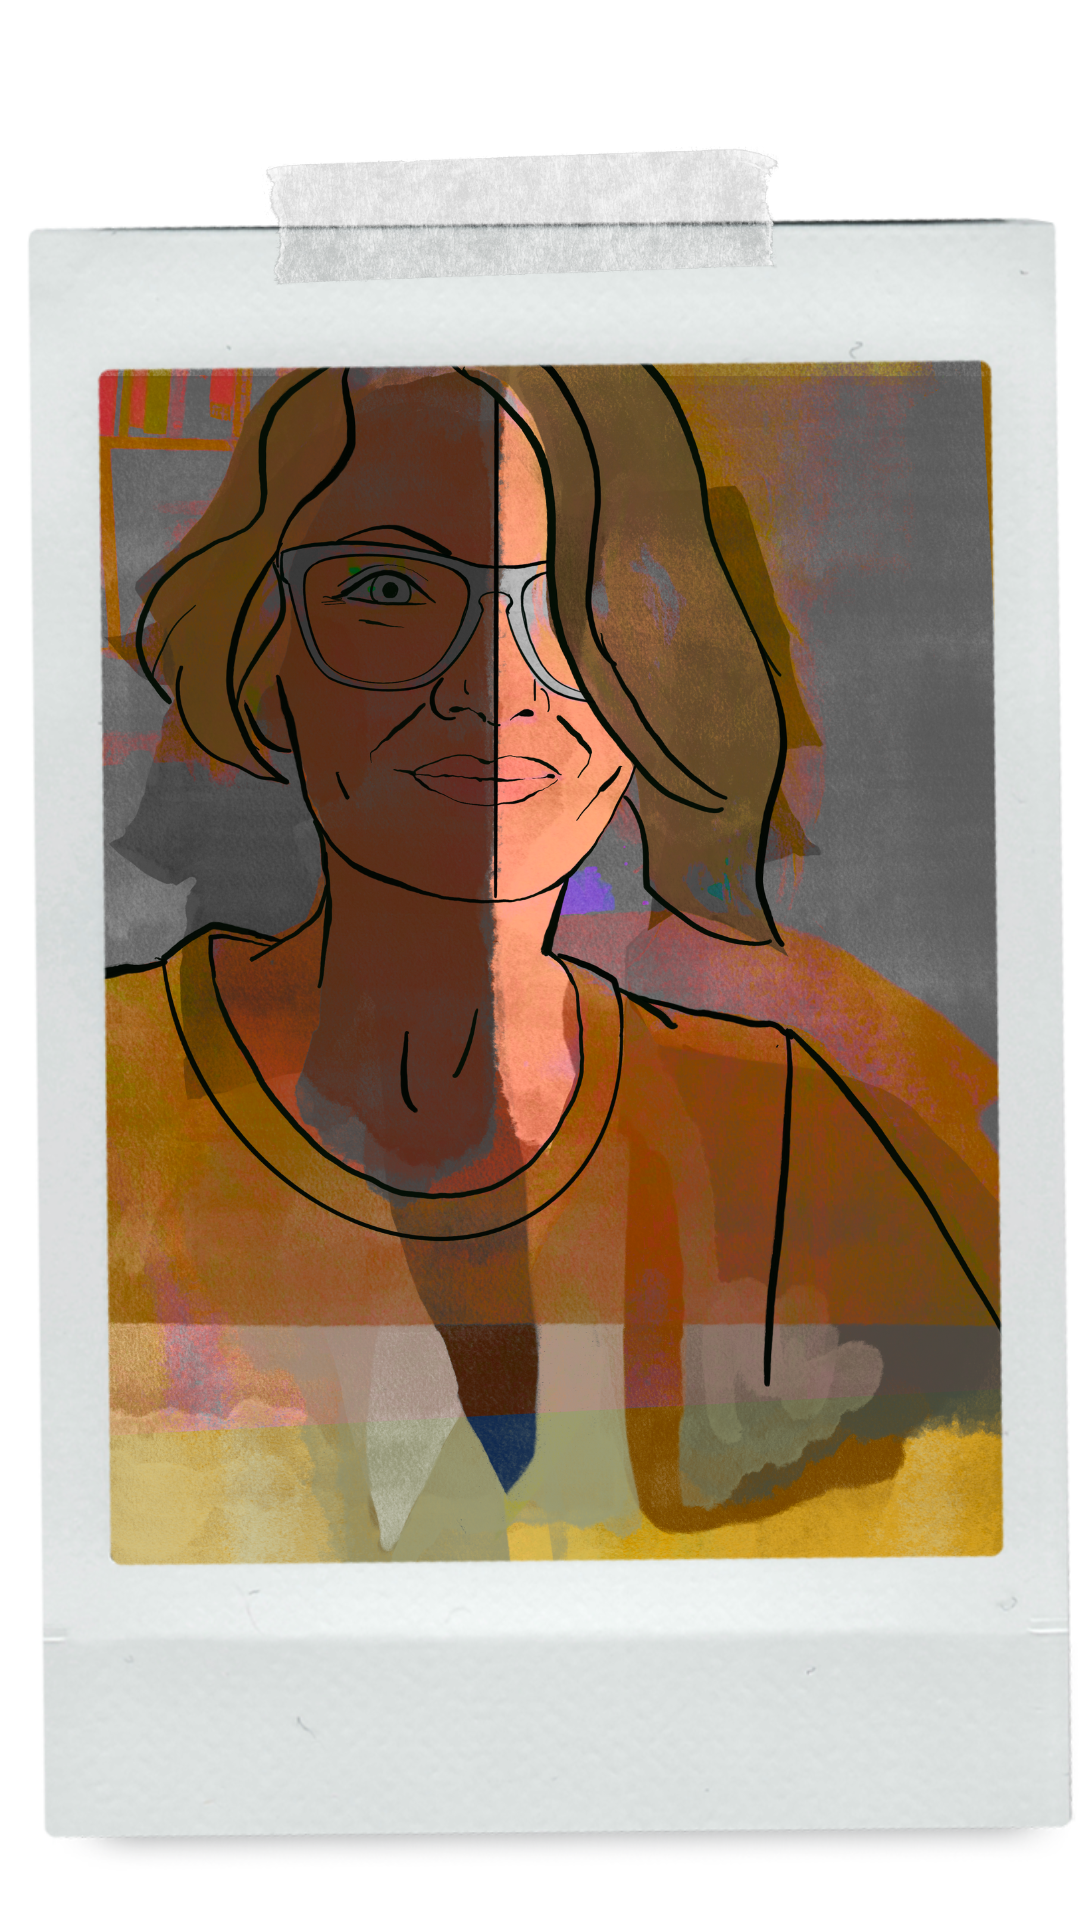
Post 53 –Moho 14 and the twelve default line styles.
Whooty whoot! I have been wanting to do this for awhile, take the time and go through and explore the different style options in Moho. There are 12 Default Style Lines. Basically, the 12 Days of Christmas, Moho-style. 🎄😂
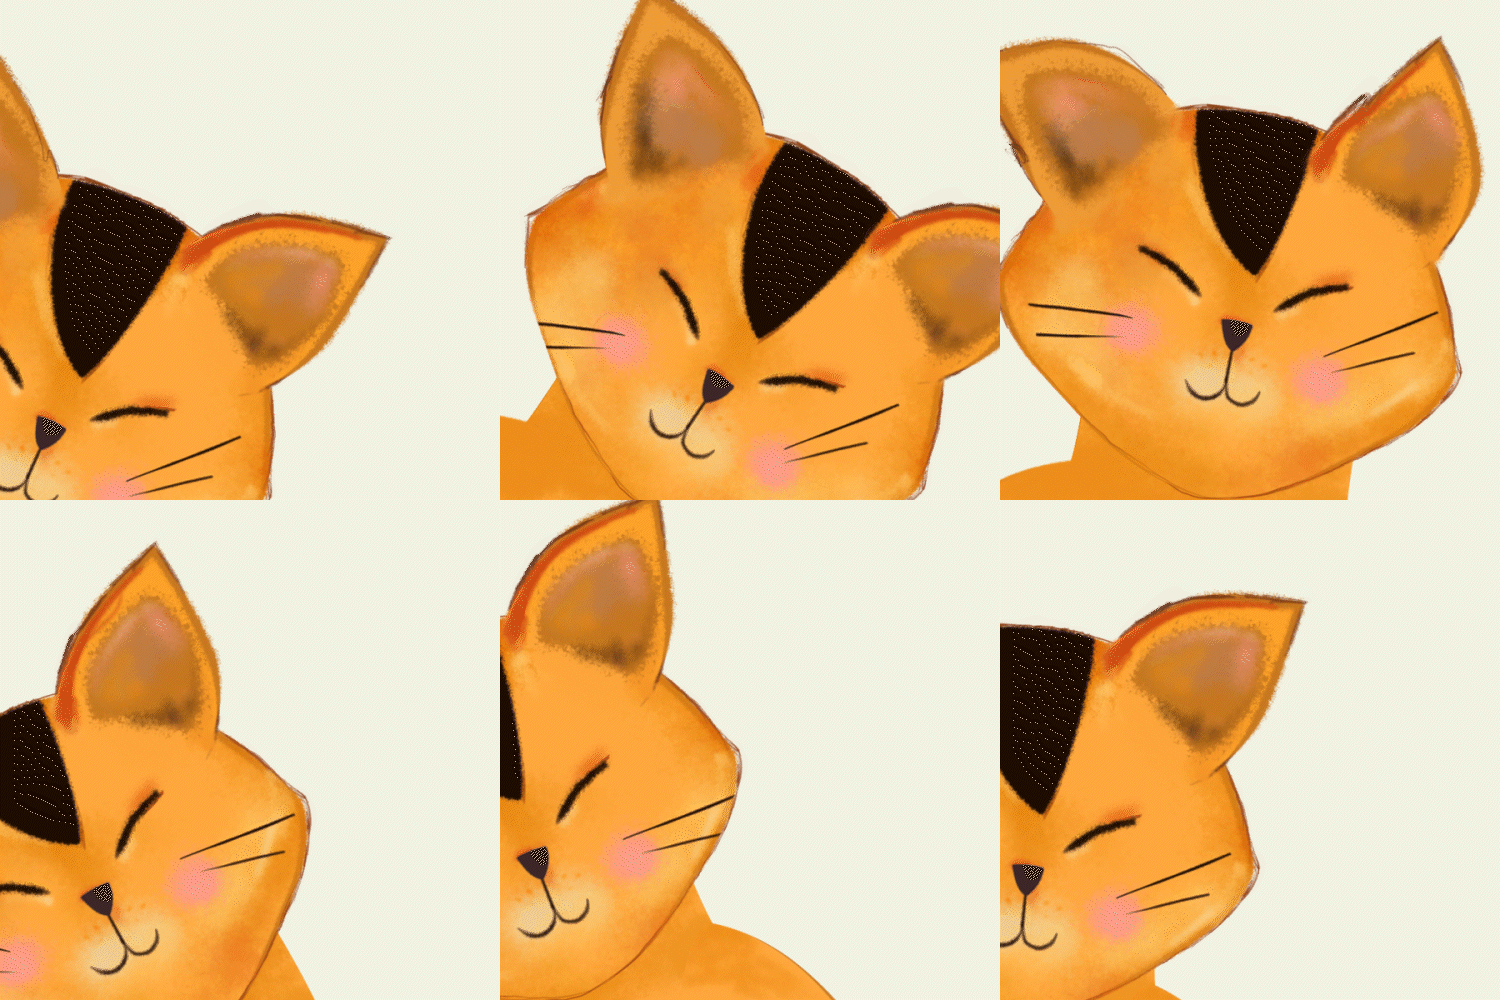
I thought, what if I recorded, at the same time I played around? Welllll, that was an interesting disaster, at some point I might post the kinda talk you through it video on the different styles and how to create a character face shape using them. It is an easy way to get the creative juices flowing as well as start with some basic face shapes. But not today, today I played with honey bear. lol
Things to Know:
✔ 12 Default Line Styles
✔ Create a Shape with Line Styles
Create Shapes with Line Styles
You can use line styles in two ways, you can use it as a free hand draw tool, but you can also use it to create a shape with the style line applied. This is a quick way to create a shape with a fun sorta hand drawn style applied automatically. The advantage? They’re quick. You literally just pull out a shape, and the line is already there for you. They have fewer vector points to deal with when animating and you can adjust the width, change the color of the stroke, and change the fill color at any time!
They have some workhorse advantages, too:
- They offer consistency across your shapes.
- You can tweak them to have a fill, or a fill + line.
- You can combine Styles.
- You can override a Style when you need to.
- Annnnnd if you decide you want to change things later, you can edit or replace the Style rather than having to manually adjust every shape. (even on a hand drawn animation) Easy-peasy!!
Once you get familiar with Styles, you can get much more creative with them, as well as create your own custom styles, but for this post, we’re going to keep it simple.

Wet ink
Light Charcoal
Chisel Tip
Strong Charcoal
Dry Pencil
Light Pastel
Pastel
Gouache
Rough Ink
Watercolor
Dark Core
Dark Core Soft


“I wasn’t going to eat it, I was just going to taste it.”
Honey Bear
On Mr. Honey Bear, I started with the style Wet Ink, to build his head, body, and most of his highlights. However, for his nose and eyes, I changed the style to Dry Pencil. Also, once you put your default line style down, you can easily hand paint over it and get a very fun brushy look. (I will talk about that in a follow-up post) Also, little bee was entirely created out of Wet Ink, the possibilities are endless. What will you do ??


WET INK (only)
WET INK + Hand Paint
Wet Ink
I recorded the last scene with live action, BUT I am not there yet. For some reason my camera is not completely tracking, especially on the head up/down movement. A wonderful tip on youtube suggested using my phone. I didn’t have time to fiddle with it this week, but I definitely will next week. If you missed it, here is a video on how to create a live model in less than an hour and the update for FREE to Moho 14 users.
Post 53 — Afterthoughts
Quick thoughts this week. My major takeaway was the balloon trick, I was still struggling with the head turns, always trying to remember…. what does the left side do when the character turns left, and the right side when it turns right ? Then I read about the balloon trick with a drawn head when animating. However, this link has great visuals of a head turn. Ahha…the muzzle kinda goes in an arc when it turns, and don’t forget to curve the shapes (say of the snout) and not keep them straight.
stay style-ish 🐻 nik