Day 27 / 38 – Moho
Today we create a scene with parallax in Moho. Parallax is the illusion of depth created by separating layers in 3D space so foreground and background elements move at different speeds. The idea is by making a few adjustments on the Z axis, a flat drawing can suddenly feel alive and cinematic.
Things to Know:
✔ Rig a scene
✔ Add & adjust wind
✔ Orbit tool
✔ changing the Z axis
✔ viewing the scene with the camera
Rigging a Scene
Add your .psd file from photoshop into Moho and turn it into a bone layer. You can isolate the bone layer you are working on by clicking the display drop down menu and clicking Fade Unselected Layers. Now go through your normal process of rigging.

- Add Bones (to the pieces you want to move)
- Adjust Bone strength.
- Bind bones to the proper artwork.
Adding Wind

Now select your bones and go to bone constraints:
- click: angle
- click: wind
Adjusting Wind

After you have selected wind, you have the option to adjust:
- direction
- strength
- turbulent amplitude
- turbulent frequency
- gravity strength
- gravity direction
“There is a hidden magic in the dust of a country road, a reminder that the best destinations require a little grit.”
― unknown
Parallax


- Side by side View: At the bottom-right corner of the interface, click Split Screen to open a side-by-side workspace.
- Orbit tool: In the right scene view, select the Orbit Tool. This lets you view the scene in 3D space. At first, all of your layers will appear stacked together because they are positioned on the same Z axis.
- Side by side Orbit: In the primary scene view (left side), choose the Transform Layer Tool.
- To move a layer along the Z axis:
- Hold Shift + Alt
- Click and drag the layer toward or away from the camera
- Z Axis: As you reposition layers on the Z axis, they will begin to separate in 3D space.Foreground elements should move closer to the camera, while background elements move farther away.
- The Scene: This creates the parallax effect and gives the scene a stronger sense of depth.
- Camera View: Use the Camera controls to preview the scene from different angles. You’ll now see your artwork arranged in a three-dimensional environment with layered depth and parallax movement.
Day 27— Afterthoughts
I had to redo this a couple of times before I got the Shift + Alt movement working correctly. At first, the layers wouldn’t snap back into place, and the whole scene kept losing its proportions. I still don’t really know how to use the camera in a functional way yet, but I’m hoping by the end of Lesson 38 it’ll start to click.
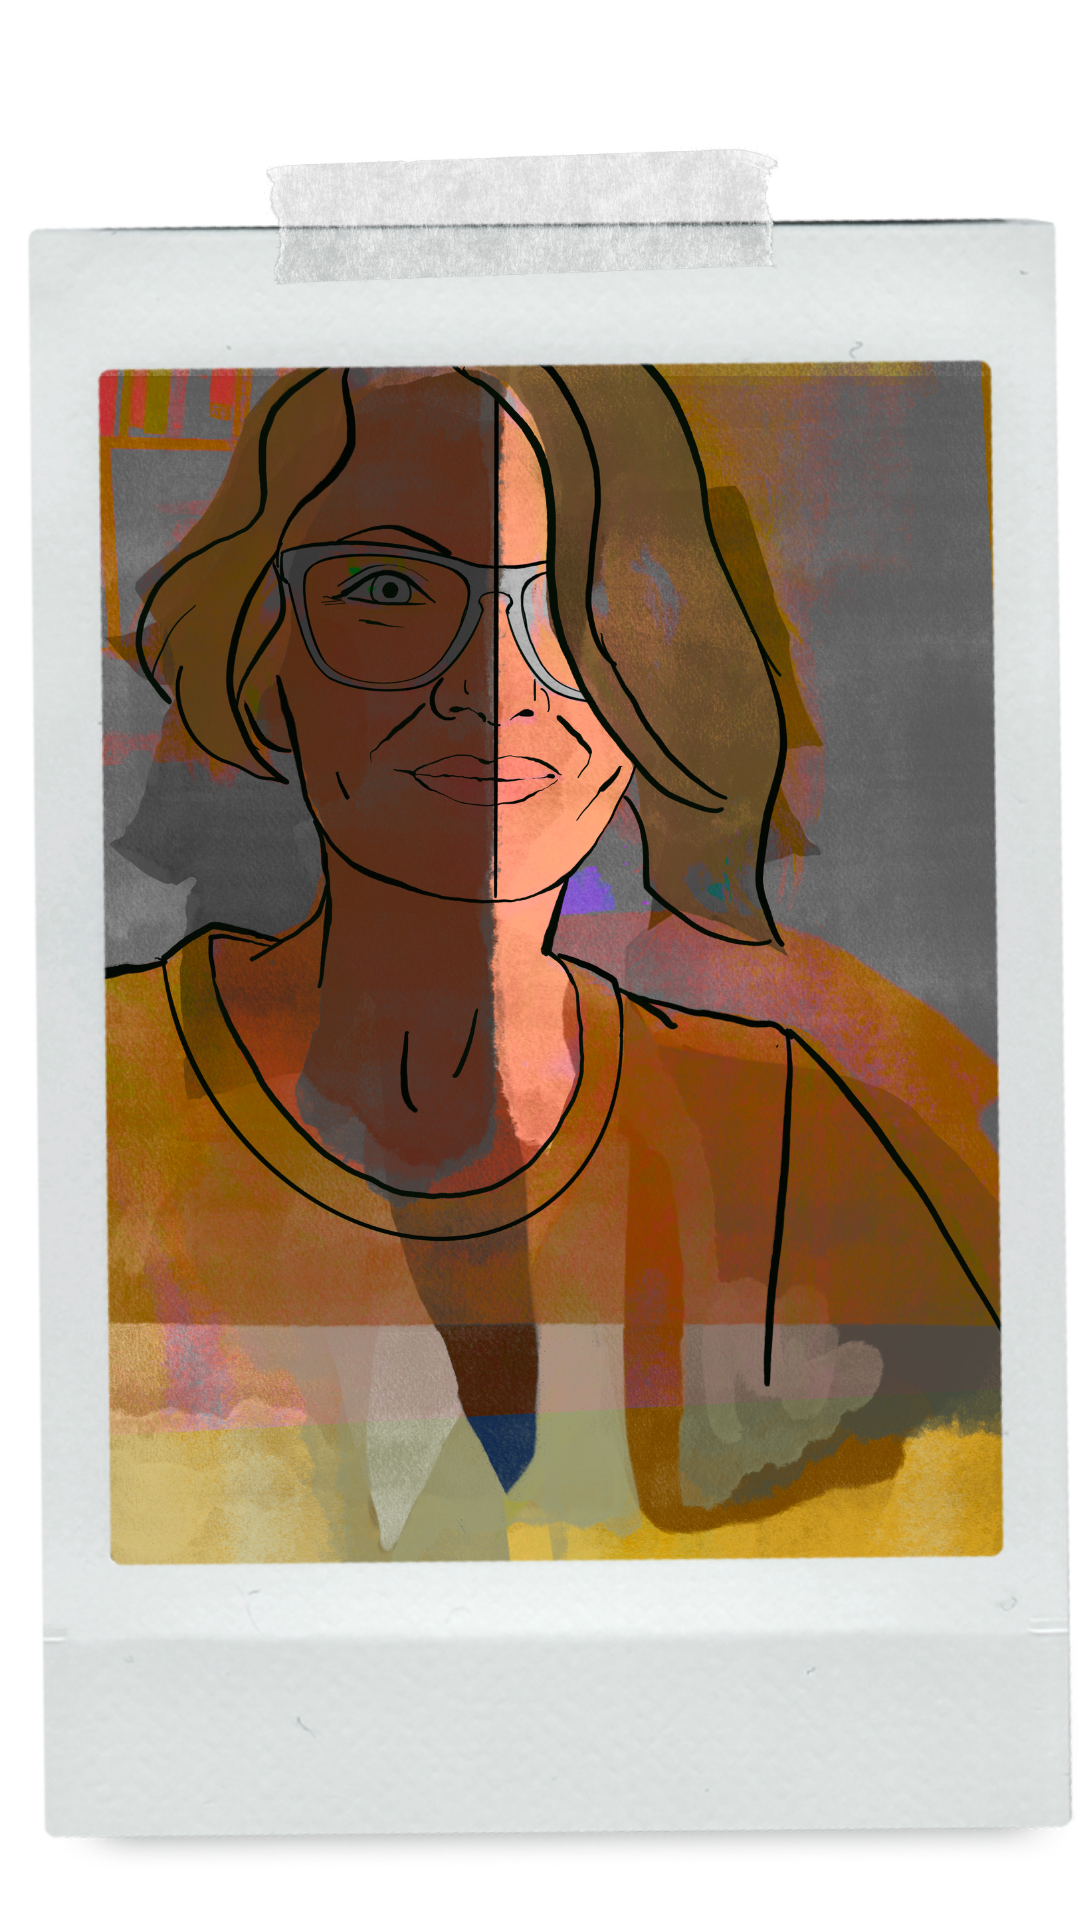
This scene is for a little story I’m working on, so it was exciting to watch the hills finally come to life with depth and movement. I drew this in Procreate and then exported it as a .psd file and the one big lesson from this process was: draw every layer separately. It makes building the scene in 3D so much easier later on.
Wandering On 👣
Nik