Post 44 –Character Building
Wow! Loads of learning in Week Two of the Adam’s Animation Academy, Moho Magic Rigging Course, taught by thee Dani Abrams, Moho Ambassador. The vector build begins, and you work from top to bottom: head, eyes, mouth, hair, body, joints, legs, shoes and hands. If you want to learn how to build vector characters for animation, this week is definitely for you!
Dani takes extreme care with every detail, approaching the build not only from a rigger’s perspective but with an incredible awareness of what an animator may need from the rig in the future. It’s challenging ! But great, and let me tell you, you will not be left alone! Ask questions and you’ll get almost instant feedback, drawings, explanations, and so much more. The video below will give you an idea of the level of detail Dani brings to every rig.
Pure GOLD!
Things to Know:
✔ how to mask an eyeball
✔ basics of character build
Character Build
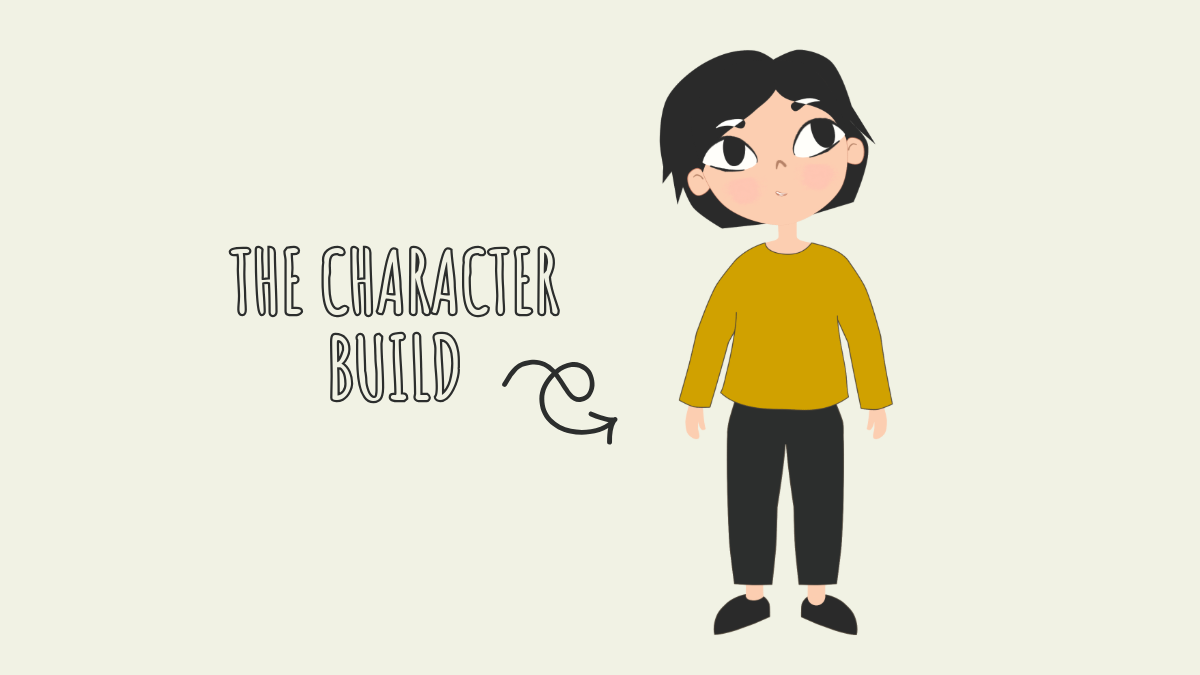
We were given a character build sheet that we could follow, but of course I wanted to try to give it a little spin, while still maintaining the fundamentals of the design, e.g., masked eyebrows, and eyeballs in front of hair, etc. I started sketching on paper and hopped quickly into procreate, as it would allow me to draw one side, and then easily resize, flip, warp, and adjust as needed. Well, new appreciate for animation character designers, as I usually “paint” one static bit map character, not quite so worried about proper animation in the future. Trying to get all the proper pieces for an animation build felt like a stretch, I finally just eyeballed the scale and hope I can just work it out at the end (so far, definitely not perfect).


Head
Try to be symmetrical when creating the shape.
Technically, the key word when building all shapes is …
EQUIDISTANT.


Eye Masking
👁️ Group– The folder, that holds the parts of the eye
↳ 🖼️ Vector Artwork Mask (the pupil).
↳ 🖼️ Vector Artwork Base (the eyeball).

Mask
- Click on the Eye Group Folder.
- Go to: Masking
- Click: Hide All
Make sure that the shape you want to clip into is at the bottom (Base).
It’s all about that base…
EASY PEASEY !
“We are not making artwork, or drawing our characters, we are building them. ”
Week Two
Post 44 — Afterthoughts
This week was a struuuuuugle. I about lost my mind learning the joint method, as I just want to get to the fun stuff of moving bits around. Clearly, symmetry was also a problem, still haven’t worked all the kinks out on the shirt. How in the world is it still wrong even when I flipped it to the other side, I have no idea!? I know, I know, the value is in the detail, but man…this “industry standard” stuff is tuff.
Overall, pretty pleased at my very first attempt at doing it properly.
Next stop, rigging! 🦴 nik