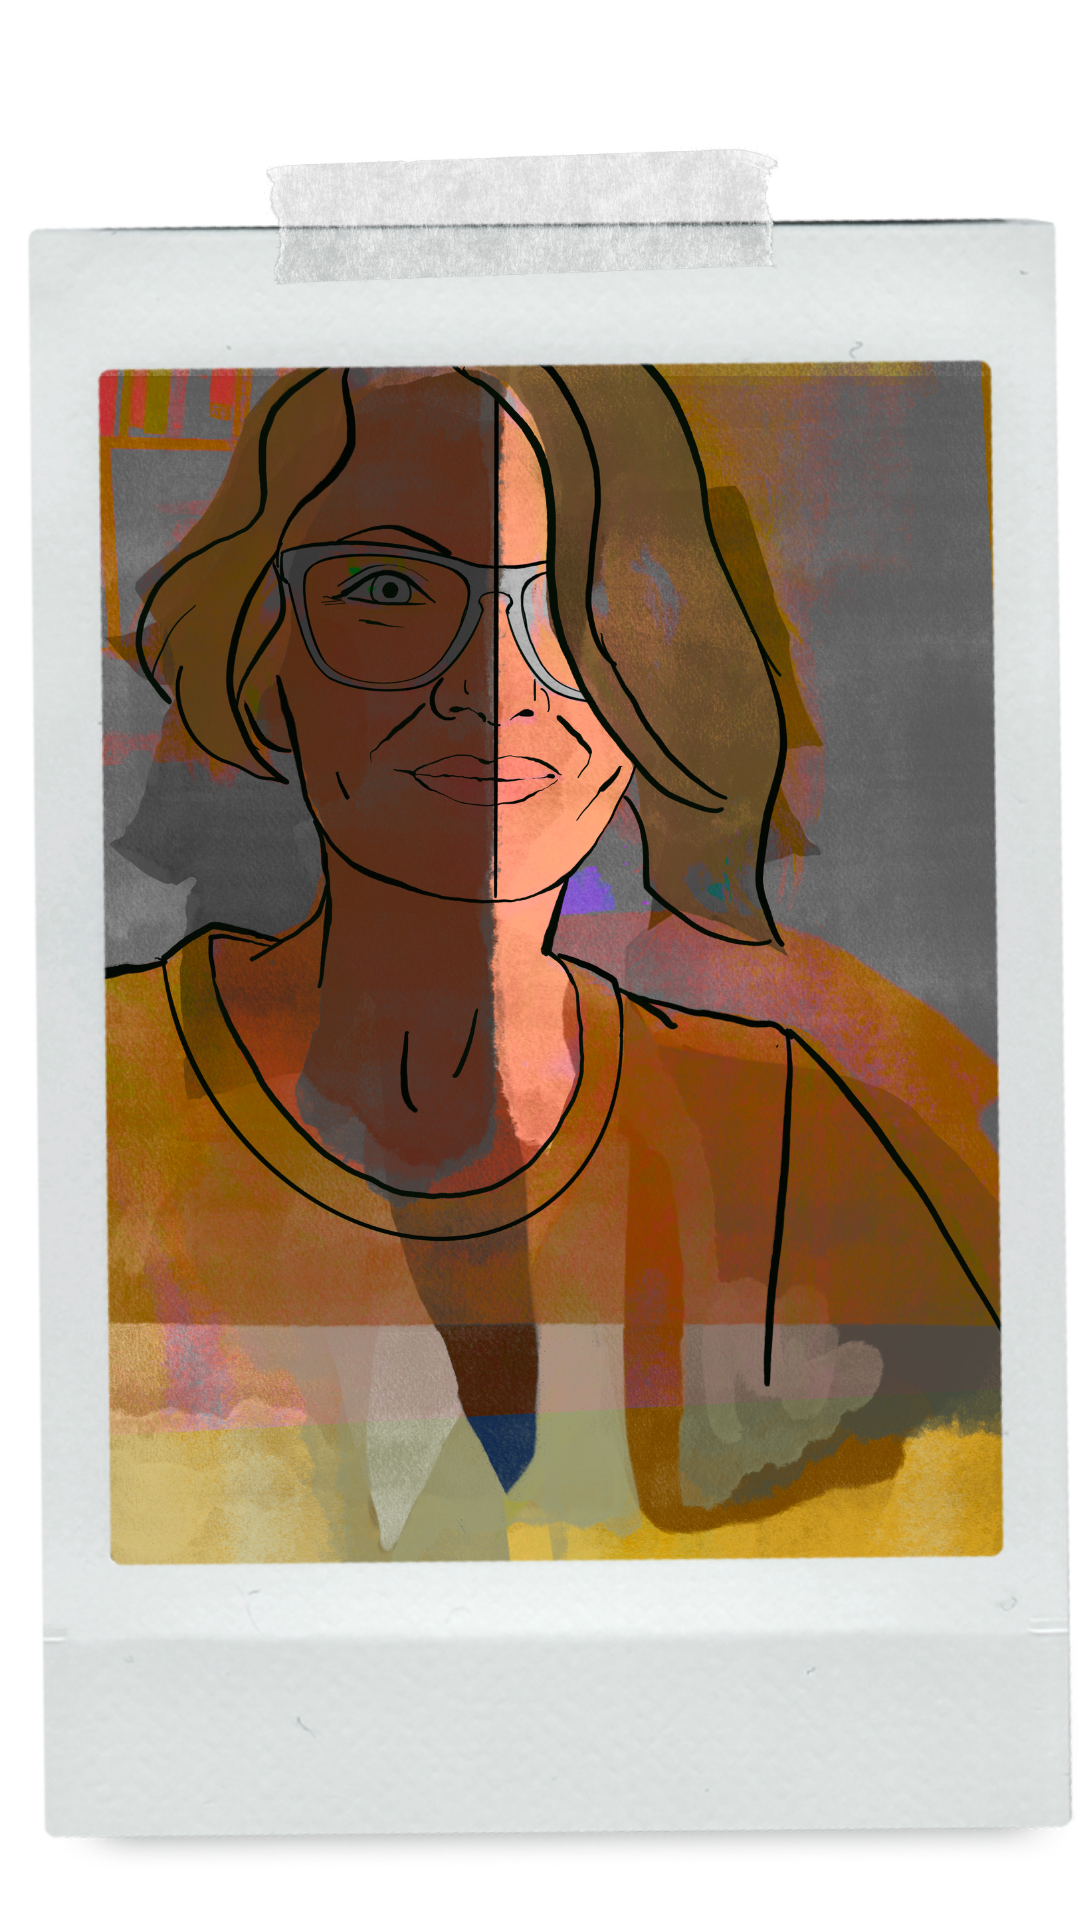
Day 1 / 38 – Moho Taking a break from wrestling with Character Animator. Diving into Moho: poking around the interface, fiddling with tools, seeing how animation actually works. Goal: one new thing a day, little by little, building toward something that moves.
This is the tutorial video series I’m following—if you want, you can follow along too. Let’s poke around, click some buttons, make mistakes, and see what Moho can do.
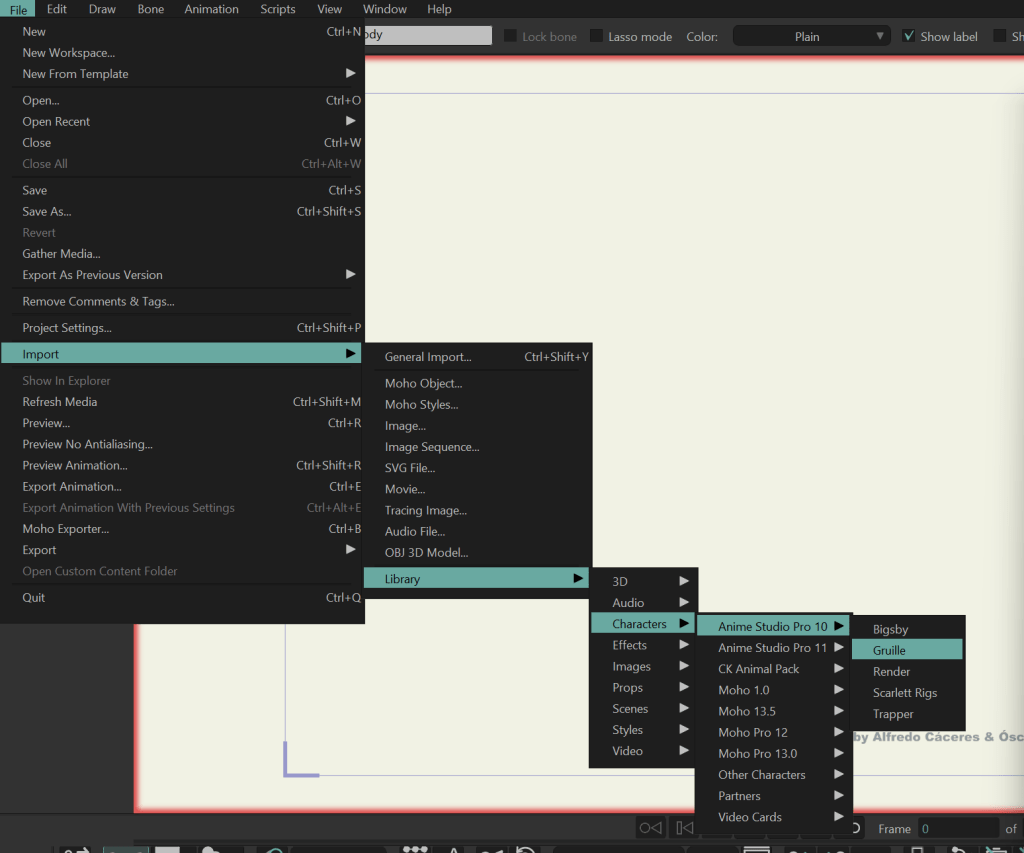
Import a New Character:
File->import->library->characters-> Anime Studio Pro 10->Gruille
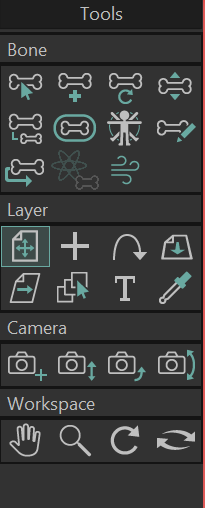
Tools:
Special note, to see the bones tools you have to actually have the Gruille character highlighted in your layers panel.
If you are on a Vector layer, you will see the drawing tools option.
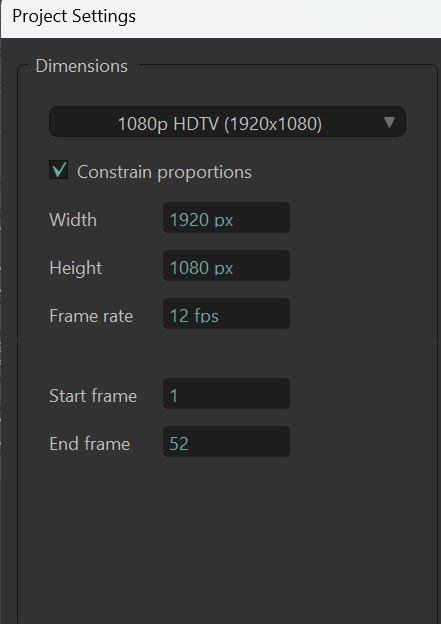
Project Settings (Ctrl+Shift+P)
Animation Resolution: Adjust the animation, with the drop down menu.
Dimensions: Sticking with 1920×1080—this was drilled into me during After Effects Kickstart at School of Motion After Effects Kickstart .
Frame Rate: For 2D animation, the best frame rate depends on the desired style and workload, with 12 or 24 frames per second (FPS) being the industry standard.
⏱ Frame Rates Cheat Sheet
24 FPS (On Ones/Twos)
Feature film standard
Smooth, cinematic motion
12 FPS (On Twos)
Most 2D TV/Web animation
Half the workload (12 drawings/sec)
Classic hand-drawn feel
8–10 FPS (On Threes/Fours)
Stylized or limited animation
Anime-style “choppy” look
Minimal drawings, maximum style
30+ FPS
High-action, ultra-smooth motion
Heavy workload, premium polish
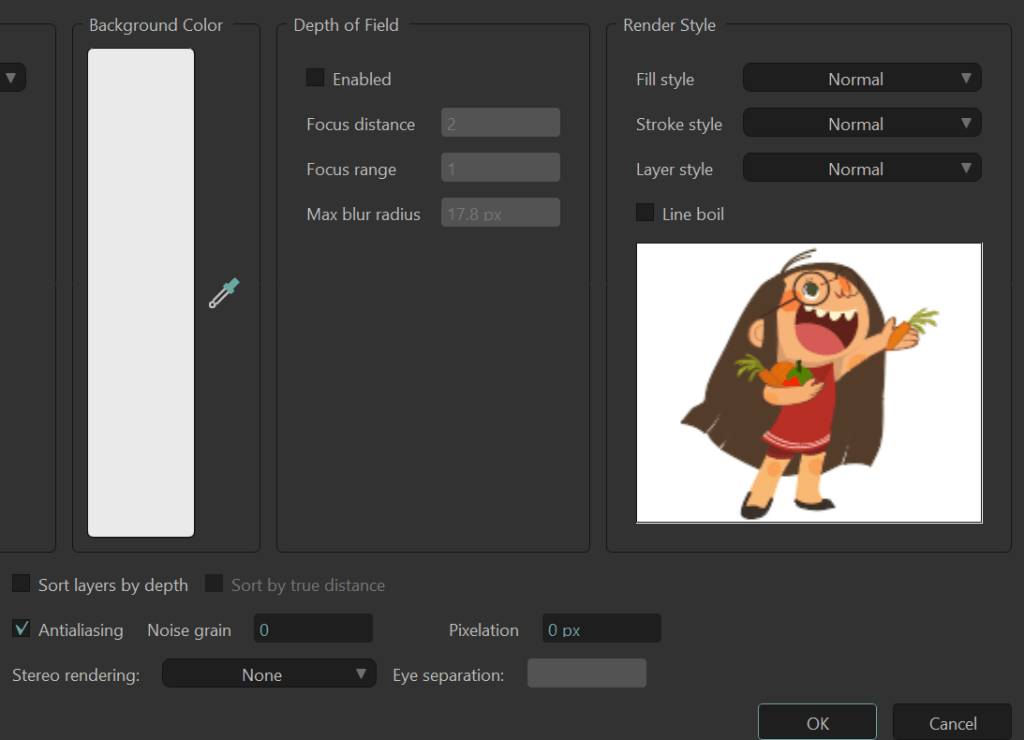
Project Settings (Ctrl + Shift + P)
You can also tweak a bunch of things here:
Background color – set the mood for your scene
Depth of field – blur the background when zooming into characters
Antialiasing – smooth out those jagged edges
Noise grain – add a film/analog texture
Pixelation – prevent blocky pixels from breaking the look
USER TIP:
“Ok so to make it just as basic. Frame zero is the studio itself. It’s here you get all the props ready, actors trained and dressed. It’s where their ‘dressing’ rooms are. The sound effects settled. All that biz. It’s where things come together and where even the story board is shown and put together. It’s also where the script is being told to said actors and even the training, which I did mentioned earlier. It’s where the construction of whatever piece you are about to unfold.
Once you leave frame 0, you are now on stage. It’s where your actors and props are being put to use. It’s where they are being seen and are in motion, so to speak. Any issues, you go back to the studio to fix any issues and lines rewritten. The you go back on stage and continue with your recording of your play.