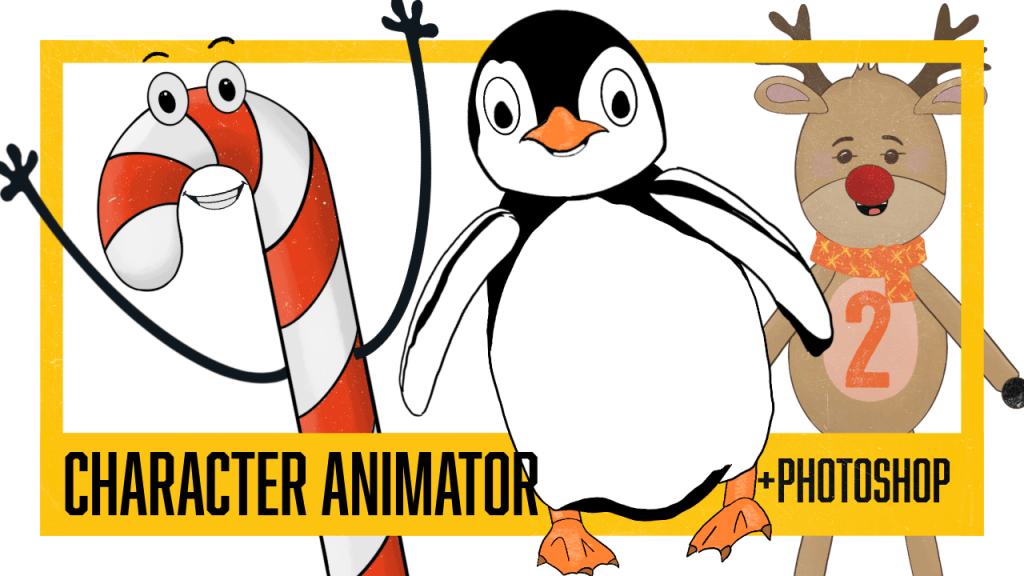
After setting up your puppet files in Photoshop , you will bring the files into Adobe Character Animator. Here, you “pin” the puppet—essentially giving your character a skeleton by placing anchor points with the Puppet Pin Tool. These points control movement, acting like handles, bones, and physics all working together. The result is a structure that lets your artwork move naturally and fluidly, almost as if it’s coming to life
I’m still figuring out the best ways to rig characters so their movements feel natural, but after organizing my Photoshop files, I’ve started following a simple 5-point process
(thanks, Okay Samurai) that seems to help me get (a little) smoother motion. It’s a bit of trial and error—thinking about where to place pins, how each joint might move, and imagining how the character will behave once it’s animated.

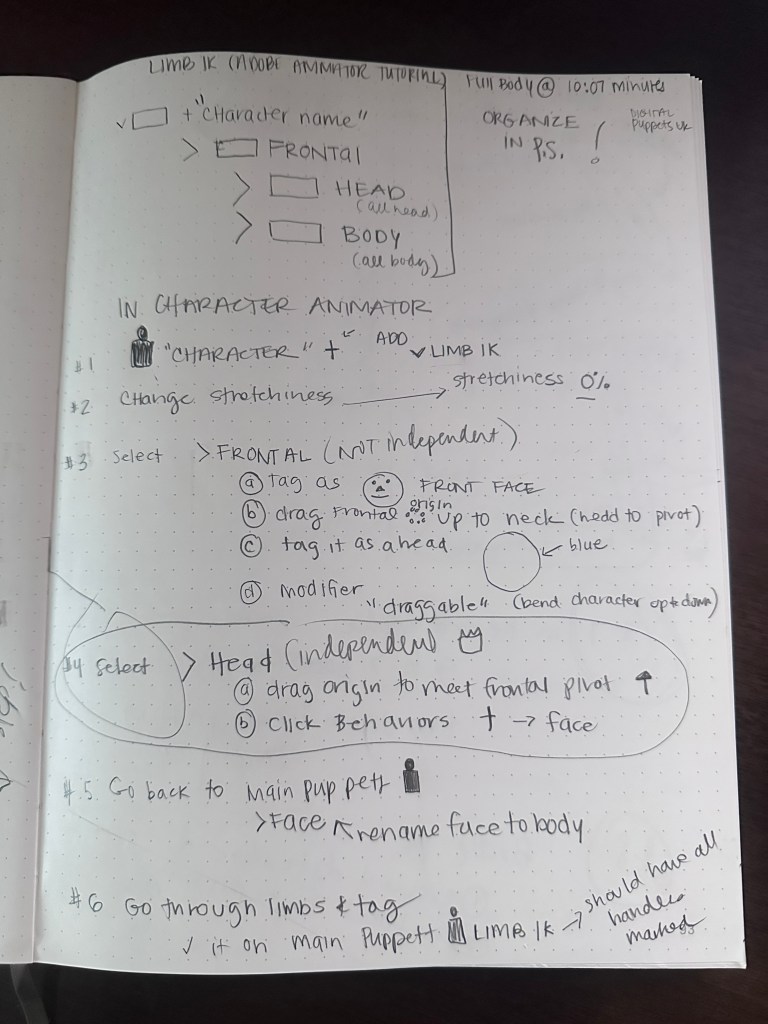
Step ONE: Main Puppet
- Highlight your Puppet, move origin pin to belly button of your character.
- Add Limb IK to your puppet
- Lower “Stretchiness” to 0%, unless you want your puppet to have go-go-gadget arms.

Step TWO: Puppet Name
On your Puppet name, match origin pin to the belly button of your character.
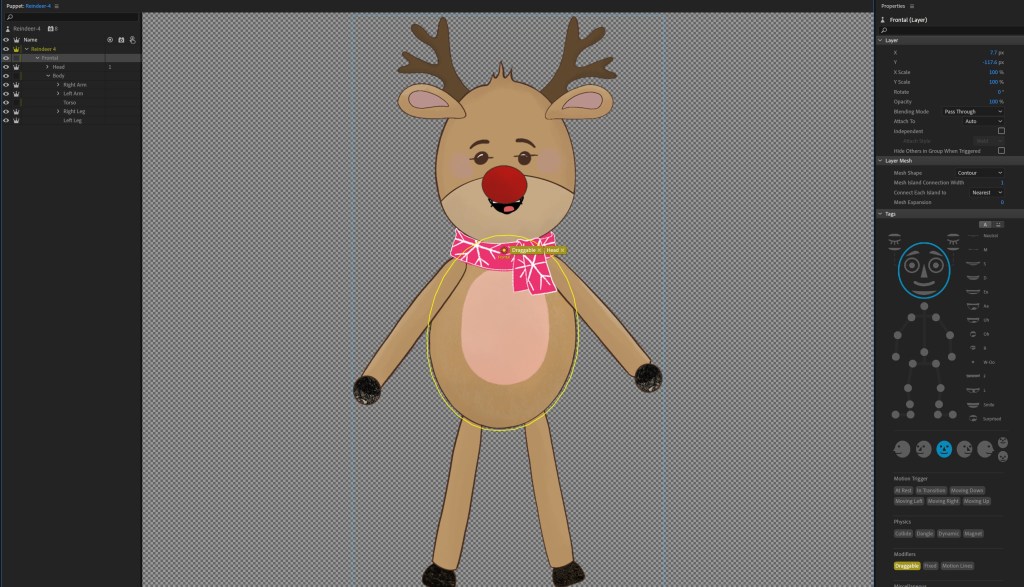
Step THREE: Frontal
Click on the frontal folder, move your pin to the neck, where you want the head to rotate from.
The body of the character will be highlighted (in yellow).
Mark it as a:
1. head (see both blue on right)
2. draggable
This draggable handle will allow you to
move your character up and down.
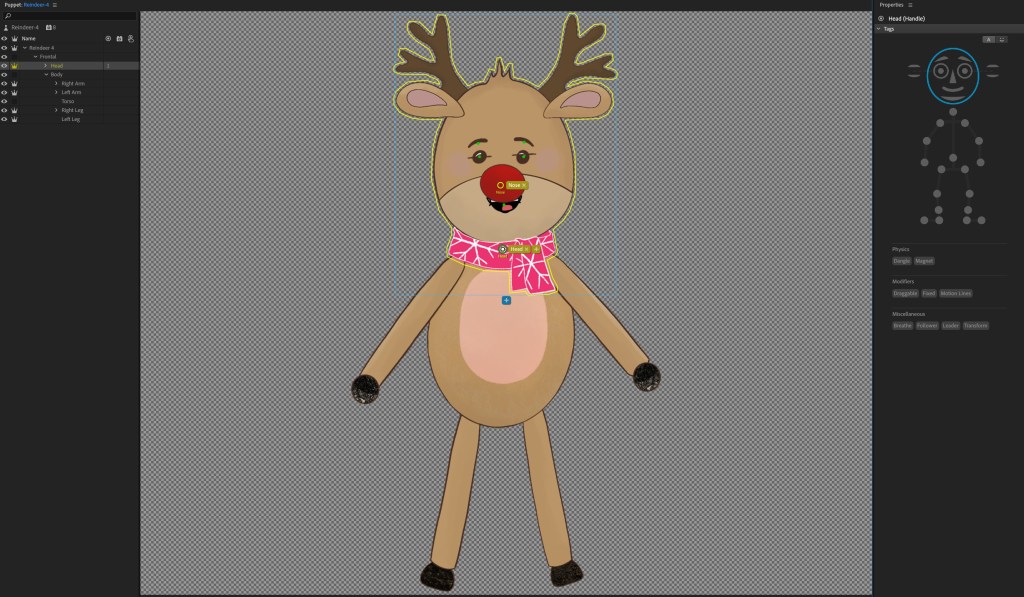
Step FOUR: Head
- Move your pin to match the head and neck pin on frontal
- make sure it is also tagged as a head (see blue head on right).
- Go to behaviors: add the tag “face.”
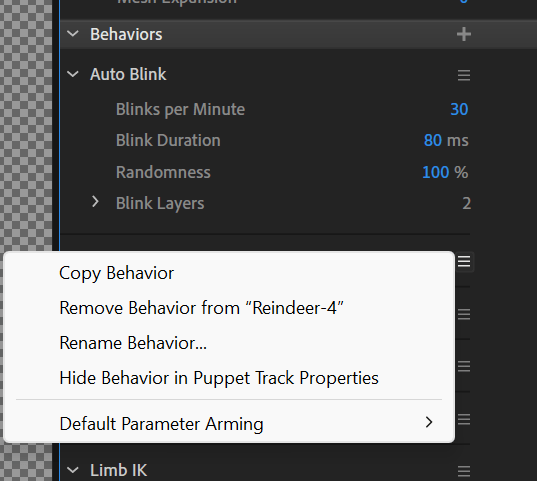
Step FIVE: Main Puppet
- Go back to Main Puppet and “Rename Behavior,” rename your “Face” to body.
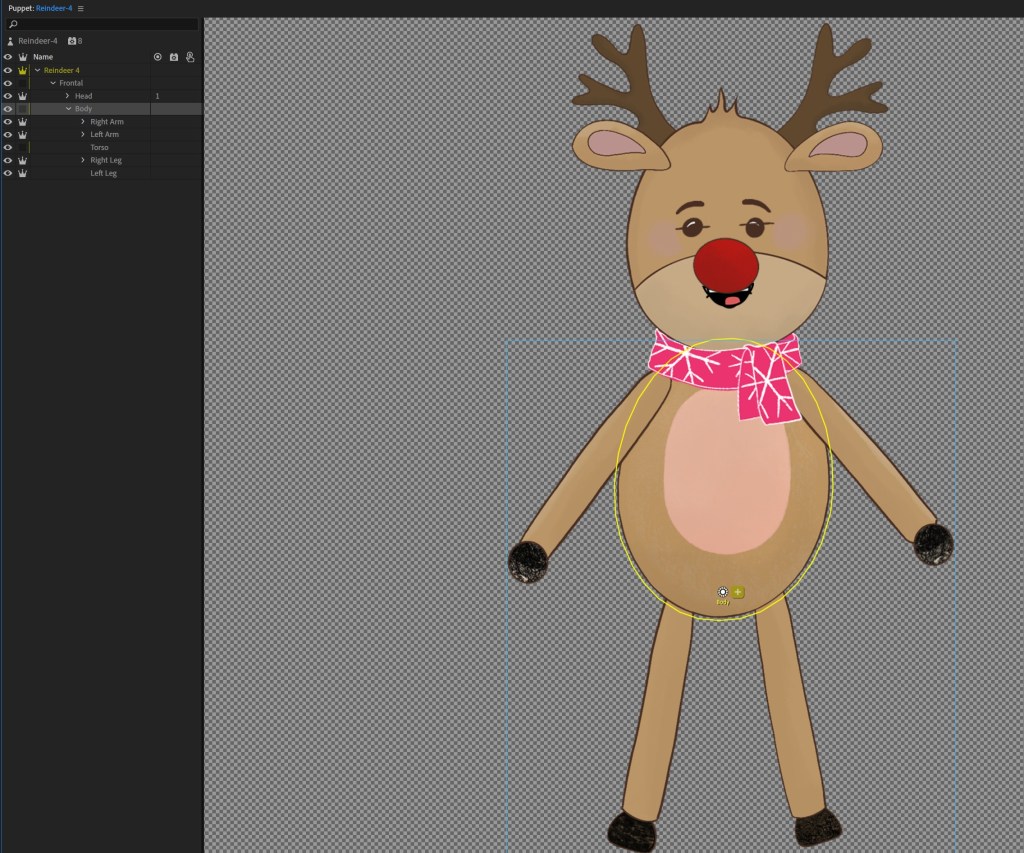
Step SIX: Body
Put origin down at bottom. Honestly still trying to figure out if this is the best option on this one.
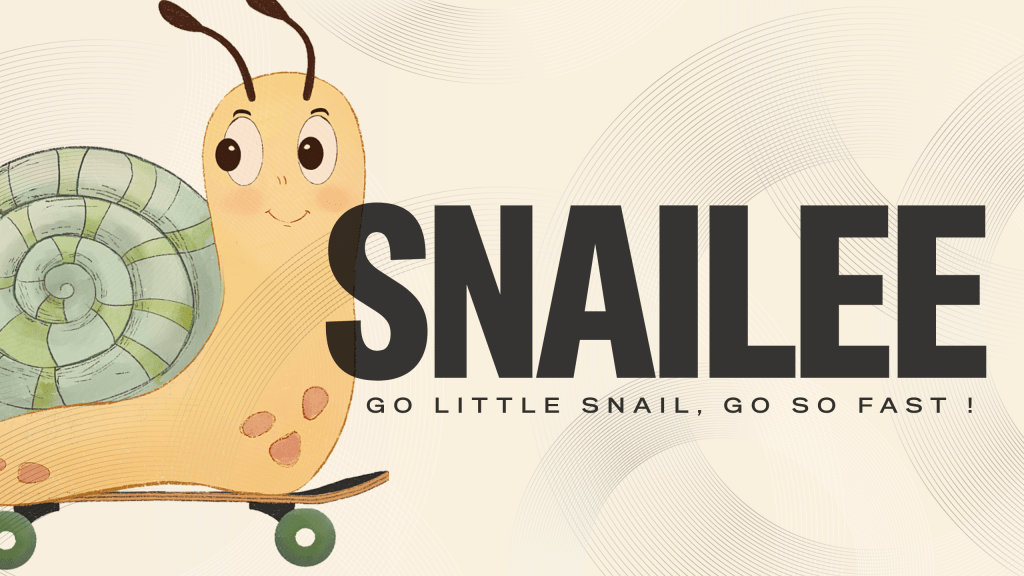
And that’s it for the overall rigging of your puppet! Every time I try it, I learn a little more about what works and what doesn’t. Mostly what doesn’t. Currently working on this snailee, a little limbless character, trying to make him move a bit more naturally… or just a little squishelly.
Next time, I’m diving into limb rigging — getting those arms and legs to swing right… or very, very wrong. Thoroughly enjoying this Adobe Character Animator journey… in a slightly obsessive kind of way.
These are my very rough notes on the main body rig… Would it help if I turned them into a reference PDF? Let me know. In the meantime, I’ll keep slogging through. 😉
“Stay obsessed. Ordinary is overcrowded.”
— Grant Cardone